A dryer vent cap is an essential outdoor cover that protects your clothes dryer’s exhaust system from the elements. It sits at the end of the vent pipe outside your home and allows hot, moist air to exit while keeping rain, snow, birds, rodents, and debris from entering. Without a proper cap, lint buildup and blockages can occur, leading to reduced dryer performance, higher energy bills, and even fire hazards. Regular dryer vent cleaning Los Angeles services help keep the entire vent system clear, improve airflow, and ensure your dryer operates safely and efficiently.
This guide explains everything you need to know in simple terms so you can choose, install, and maintain your dryer vent cap effectively. Good ventilation is key to safe and efficient drying of clothes. Understanding the basics helps homeowners prevent common problems and extend the life of their dryer. A well-chosen vent cap improves airflow and keeps your laundry routine smooth and worry-free.
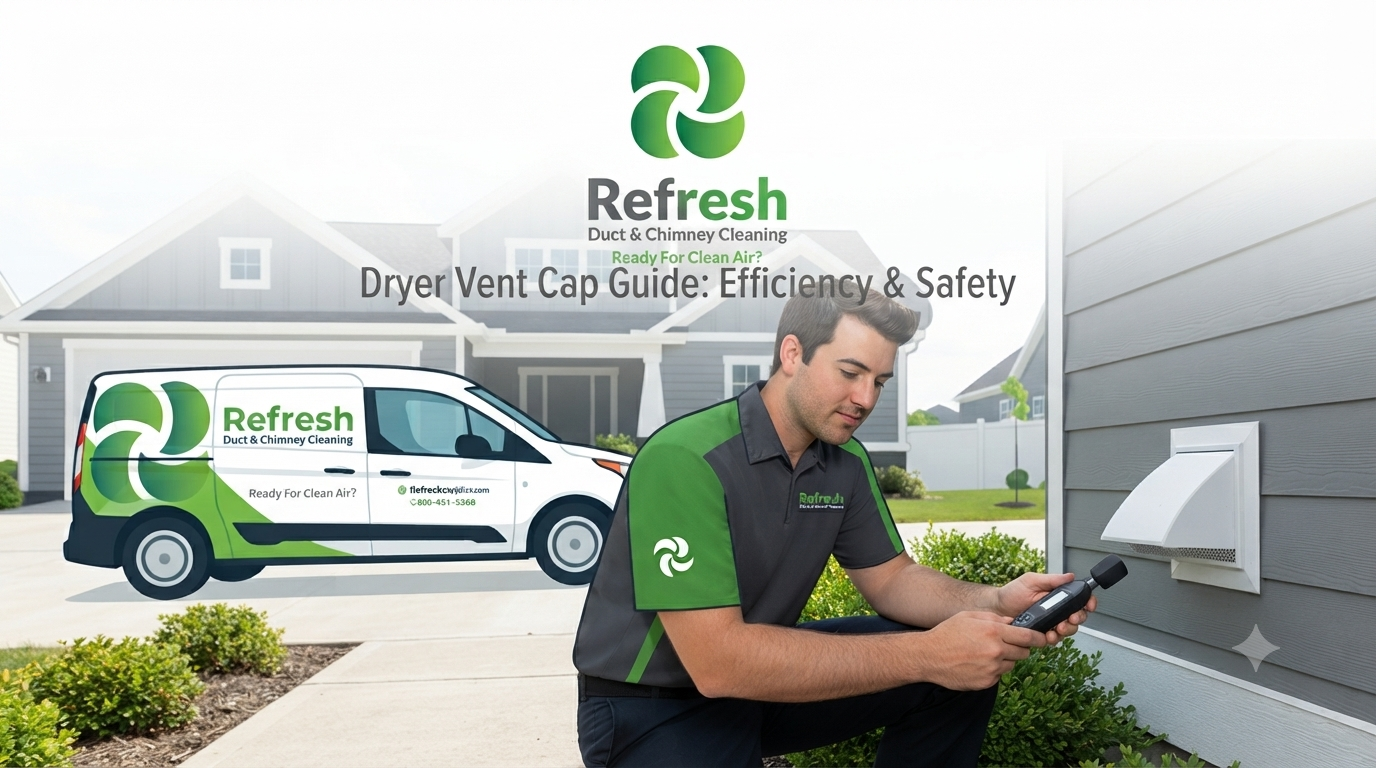
Dryer Vent Cap Guide
A dryer vent cap serves as the final protective barrier for your dryer’s exhaust. It is designed with a flap or hood that opens when the dryer runs and closes when it is off. This simple mechanism prevents backdrafts and stops unwanted visitors like birds or squirrels from nesting inside the pipe.
The cap also stops water from entering, which could damage the ductwork or cause mold inside walls. Many people overlook this small part, but it plays a big role in overall dryer safety and efficiency. Choosing the right cap ensures smooth operation and reduces the risk of lint fires, which are surprisingly common in homes. Proper installation and regular checks make a huge difference in how well your dryer performs.
Importance of a Dryer Vent Cap
- Having a reliable dryer vent cap is crucial for safety and performance.
- It keeps the exhaust path clear so moist air can escape quickly, preventing excessive lint accumulation.
- Blocked vents force the dryer to work harder, increasing electricity use and wear on the machine.
- A good cap also lowers fire risks by stopping birds, leaves, and other materials from clogging the system.
- Homeowners who ignore this often face costly repairs or poor drying results.
- Installing a quality vent cap brings peace of mind and helps maintain healthy indoor air quality.
- Regular attention to this component can save money on energy bills over time.
Types of Dryer Vent Caps
- There are several types of dryer vent caps available to suit different needs.
- Basic gravity flaps are simple and affordable, using natural weight to close.
- Hood-style caps offer better protection against wind-driven rain.
- Some models include built-in screens to keep out pests while allowing strong airflow.
- For colder climates, insulated or heated caps help prevent ice formation on the flap.
- Choose based on your home’s setup, local weather, and how much protection you need.
- Each type has its own benefits, so matching the cap to your dryer and vent pipe size is important for best results.
How to Choose the Right Dryer Vent Cap
Selecting the correct dryer vent cap starts with measuring your vent pipe diameter. Most residential dryers use 4-inch pipes, but always confirm before buying. Look for durable materials like galvanized steel or aluminum that resist rust and last longer. Check for smooth interior surfaces that reduce lint buildup.
Consider features such as a wide hood for better weather protection and easy-to-clean designs. Read product ratings for airflow performance and durability. A good cap should meet safety standards and fit securely without gaps. Taking time to choose wisely prevents future headaches and ensures safe dryer operation.
Installing a Dryer Vent Cap
Installing a dryer vent cap is a straightforward DIY project for most homeowners. First, turn off the dryer and disconnect power. Clean the existing vent pipe thoroughly to remove old lint. Slide the cap over the end of the pipe and secure it with screws or clamps for a tight fit. Use exterior caulk around the base to seal against water.
Make sure the flap moves freely and closes completely when the dryer is off. Test the dryer after installation to confirm strong airflow. If your setup is high or complicated, consider professional help for safety. Proper installation maximizes the cap’s effectiveness and prevents leaks.
Maintenance Tips for Dryer Vent Caps
Regular maintenance keeps your dryer vent cap working well for years. Inspect it every few months for lint, debris, or damage to the flap. Gently clean the screen and hood with a soft brush or vacuum. Check that the flap opens and closes smoothly without sticking.
Clear any bird nests or leaves immediately. Replace the cap if it shows signs of rust or broken parts. Keeping the entire vent system clean improves dryer efficiency and safety. Simple routines like these prevent major problems and extend the life of both the cap and your dryer.
Benefits of Regular Cleaning
Regular cleaning of the dryer vent cap improves airflow and reduces drying time. It also lowers the chance of overheating and potential fires. Clean systems use less energy, saving money on utility bills. Homeowners notice fresher smelling laundry and fewer lint warnings on the machine. This easy habit promotes better indoor air quality by preventing moisture buildup.
Choosing Weather-Resistant Materials
Weather-resistant materials like powder-coated metal or heavy-duty plastic stand up to rain, snow, and sun. They resist corrosion better than cheaper options. These materials maintain smooth operation of the flap over time. Investing in quality materials means fewer replacements and consistent protection for your vent system.
Common Mistakes to Avoid
Many people install caps that are too small or poorly sealed, causing backdrafts. Others forget to clean them regularly, leading to blockages. Avoid using indoor vents or flexible hoses that kink easily. Always ensure the cap is pointed downward slightly for proper drainage. Skipping these basics can create safety issues and inefficiency.
Tools Needed for Installation
Basic tools like a screwdriver, drill, caulk gun, and ladder are usually enough. Measuring tape helps confirm pipe size. Safety gloves and goggles protect during cleaning. Having the right tools makes the job quick and safe. Keep everything organized before starting work.
Signs Your Vent Cap Needs Replacement
A stuck flap, visible rust, or reduced dryer performance signal replacement time. Loud noises or longer drying cycles also indicate problems. Birds or pests around the vent are red flags. Replacing promptly prevents bigger damage to the dryer or home.
Safety Precautions During Maintenance
Always unplug the dryer before working on the vent. Use stable ladders and avoid working in bad weather. Wear a dust mask to prevent inhaling lint. Turn off gas dryers completely for safety. These steps reduce accident risks during upkeep.
Comparison of Dryer Vent Cap Types
| Feature | Gravity Flap Cap | Hood Style Cap | Screened Pest-Proof Cap | Insulated/Heated Cap | Premium Multi-Function Cap |
| Price Range | Low | Medium | Medium | Higher | Highest |
| Weather Protection | Basic | Good | Very Good | Excellent | Superior |
| Pest Protection | Limited | Moderate | Excellent | Good | Best |
| Airflow Efficiency | High | High | Very High | High | Highest |
| Durability | Average | Good | Very Good | Excellent | Premium |
| Best For | Mild climates | Rainy areas | Homes with animals | Cold regions | All-season use |
| Ease of Cleaning | Easy | Easy | Moderate | Easy | Easy |
| Installation Difficulty | Very Easy | Easy | Easy | Moderate | Easy |
| Fire Safety Rating | Good | Very Good | Excellent | Excellent | Best |
| Lifespan (Years) | 3-5 | 5-8 | 7-10 | 8-12 | 10+ |
This table helps you quickly compare options based on your specific home needs and local conditions.
Common Problems and Solutions
Dryer vent caps can develop issues over time if not cared for properly. A common problem is a stuck flap due to lint or rust, which blocks exhaust and causes the dryer to overheat. The solution is regular cleaning and occasional lubrication of moving parts. Birds nesting inside the pipe is another frequent issue that restricts airflow.
Installing a screened cap usually prevents this. Reduced drying performance often points to partial blockages further in the duct. Cleaning the entire vent line solves most cases. Addressing problems early keeps your dryer safe and efficient.
Fixing a Stuck Flap
Gently remove built-up lint with a brush. Apply light lubricant if needed. Test the flap movement before reinstalling. Replace if damaged beyond repair. This quick fix restores proper function.
Dealing with Pest Intrusion
Use caps with fine mesh screens. Seal any gaps around the pipe entry. Check regularly for signs of animals. Professional pest control may help in severe cases. Prevention is easier than removal.
Improving Poor Airflow
Clean the full vent duct from inside and outside. Replace crushed flexible hoses with rigid ones. Ensure the cap hood faces downward. Shorten vent runs when possible. These steps boost performance significantly.
Handling Rust and Corrosion
Clean affected areas and apply rust-resistant paint. Switch to better material caps for long-term solution. Keep the area dry by improving drainage. Regular inspections catch issues early.
Reducing Noise Issues
Tighten all connections and screws. Replace worn flaps that rattle. Choose well-designed caps with dampening features. Proper alignment during installation prevents vibration noise.
Addressing Water Leakage
Reapply exterior caulk around the base. Adjust the cap angle for better runoff. Replace cracked or warped caps. Improve overall sealing of the vent system. This protects walls and insulation from moisture damage.
Professional vs DIY Installation
- Deciding between DIY and professional installation depends on your comfort level and the complexity of your setup.
- DIY is cost-effective and simple for standard ground-level vents.
- Professionals bring experience with high or hard-to-reach installations and can inspect the full vent system at the same time.
- They ensure compliance with safety codes and proper sealing.
- For older homes or gas dryers, expert help reduces risks.
- Both approaches work well when done correctly.
- Weigh your skills, tools, and time before choosing.
Conclusion
A dryer vent cap is a small but vital part of your home’s laundry system that protects safety and efficiency. By understanding its role, choosing the right type, installing it properly, and maintaining it regularly, you can avoid many common dryer problems. Good ventilation means faster drying, lower energy costs, and reduced fire risks.
Taking simple steps outlined in this guide helps homeowners enjoy reliable performance for years. Remember to inspect and clean regularly for best results. Investing time in your dryer vent cap pays off in safety, convenience, and savings. Keep your laundry routine smooth with proper care and attention to this important component.
FAQs
- What is the main purpose of a dryer vent cap?
The main purpose of a dryer vent cap is to protect the exhaust pipe from weather, animals, and debris while allowing hot air to exit safely. It prevents water, snow, and pests from entering the ductwork. This keeps airflow strong and reduces fire hazards caused by lint buildup. Regular use of a quality cap improves overall dryer performance and home safety.
- How often should I clean my dryer vent cap?
Clean your dryer vent cap every three to six months, or more often if you have pets or live in a dusty area. Remove lint and check the flap for smooth movement. Thorough cleaning prevents blockages and maintains good airflow. This simple habit helps your dryer run efficiently and safely.
- Can I install a dryer vent cap myself?
Yes, most homeowners can install a dryer vent cap themselves with basic tools. Measure your pipe size first and follow manufacturer instructions. Clean the vent before attaching the new cap and seal it properly. If your setup is high or complicated, professional installation is a safer choice.
- What materials are best for dryer vent caps?
Galvanized steel and aluminum are popular because they resist rust and last long. Powder-coated options offer extra weather protection. Avoid cheap plastic that may crack over time. Choose sturdy materials that match your local climate for best durability and performance.
- Does a dryer vent cap help prevent fires?
Yes, a properly functioning dryer vent cap helps prevent fires by keeping lint and debris from accumulating in the duct. It maintains clear airflow so the dryer does not overheat. Combined with regular cleaning, it significantly reduces fire risks associated with blocked vents.
- How do I know if my vent cap is the right size?
Measure the diameter of your dryer vent pipe, which is usually 4 inches. Match the cap size exactly to avoid gaps or poor fit. Check product specifications before buying. A proper fit ensures good sealing and efficient exhaust.
- Should I choose a screened or non-screened vent cap?
Screened caps are better if you have pest problems or live in areas with lots of wildlife. They block birds and rodents while still allowing airflow. Non-screened versions may offer slightly better airflow in clean environments. Consider your specific needs when deciding.
- What are signs that my dryer vent cap needs replacement?
Look for a stuck flap, visible rust, holes, or reduced dryer performance. Increased drying times or lint around the cap are warning signs. Strange noises or pest activity near the vent also indicate replacement time. Address issues promptly for safety.
- Can a bad vent cap increase energy bills?
Yes, a damaged or blocked vent cap forces the dryer to run longer and work harder. This uses more electricity and raises bills. Proper ventilation with a good cap allows quick moisture removal and efficient operation, saving energy over time.
- Is it necessary to use a dryer vent cap in all climates?
Yes, a dryer vent cap is recommended in every climate. It protects against rain in wet areas, snow and ice in cold regions, and pests everywhere. Even in mild weather, it stops debris and maintains good airflow. A quality cap benefits any home setup.