
Maintaining a clothes dryer is often overlooked, yet it is one of the most critical maintenance tasks for any household. A dryer vent system serves the vital purpose of exhausting hot, moist air and lint from your machine to the outside of your home. Over time, Dryer Vent Cleaning Los Angeles debris and lint accumulation can obstruct this path, leading to inefficient drying cycles, increased energy costs, and, most alarmingly, significant fire hazards.
Understanding the mechanics of your dryer vent is the first step in ensuring your appliance operates safely and effectively. Regular inspections can identify early signs of trouble, saving you from expensive repairs or dangerous situations. This guide explores the common issues homeowners face with dryer vents and provides actionable steps to resolve them, ensuring your laundry room remains safe and your dryer continues to run at peak performance for years to come.
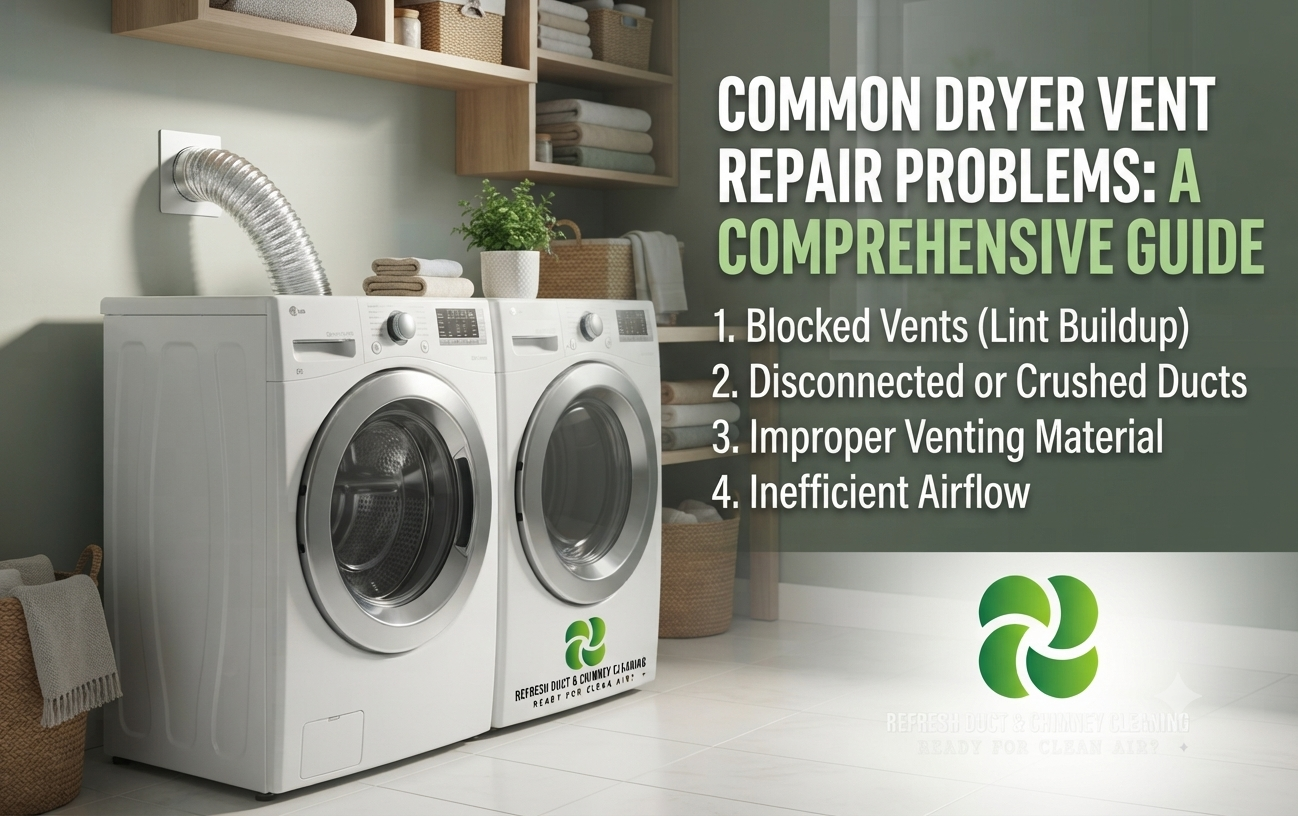
Common Dryer Vent Repair Problems
The most frequent issues with dryer vents stem from blockages, improper installation, or damaged materials that hinder airflow. When lint builds up inside the vent hose, it restricts the path air needs to escape, causing the dryer to overheat and work harder than necessary. Poorly routed or crushed vent hoses are also major culprits, as they create bottlenecks that trap moisture and lint inside the system.
Furthermore, external vents can become obstructed by debris or pests, preventing the damper from opening correctly and forcing hot air back into the dryer. Recognizing these problems early is essential, as ignoring them often leads to mechanical failure, prolonged drying times, and increased electricity consumption. By addressing these structural and maintenance-related issues promptly, you can significantly extend the lifespan of your appliance and maintain a safer home environment.
The Importance of Proper Airflow
Proper airflow is the backbone of an efficient drying process, as it allows the machine to remove moisture from fabrics rapidly. When the venting system is clear and unobstructed, the dryer can cycle through a load of laundry within a reasonable timeframe, consuming less energy in the process. Conversely, when airflow is compromised, the dryer’s heating element is forced to stay on longer, leading to excess heat buildup and internal wear. This inefficiency is not just a burden on your wallet but also puts unnecessary stress on the machine’s motor and thermal sensors. A well-designed vent system ensures that the moist air is completely expelled outside, preventing the build-up of humidity that can damage your laundry room walls. Prioritizing consistent airflow through regular maintenance is the most effective way to optimize your dryer’s performance and ensure your clothes are dried thoroughly every single time.
Identifying Signs of a Clogged Vent
- Identifying a clogged dryer vent before it causes a major malfunction is a skill every homeowner should possess.
- The most obvious indicator is that your clothes feel damp or remain hot and wet even after an extended cycle.
- If you notice that your dryer exterior feels excessively hot to the touch while running, it is a strong signal that air is not venting properly and is trapped inside the cabinet.
- Another tell-tale sign is a musty or burning smell coming from the laundry area, which often indicates that lint is overheating in the vent pipe.
- You may also observe that the vent hood on the outside of your home is not opening or that there is very little air pressure coming out while the dryer is in operation.
- Paying attention to these subtle warning signs allows you to intervene early, preventing potential fire hazards and keeping your machine running smoothly without requiring emergency intervention.
Risks of Neglecting Dryer Vent Maintenance
Neglecting dryer vent maintenance is a gamble that can lead to severe consequences, including home fires and mechanical damage. Lint is highly flammable, Dryer Vent Cleaning Los Angeles and when it accumulates in a hot vent pipe, it creates a dangerous environment where even a small spark can ignite a fire.
Beyond the catastrophic risk of fire, ignoring maintenance also causes significant wear and tear on your dryer, potentially leading to a total breakdown that requires professional repair or complete replacement. High humidity levels trapped by poor venting can also encourage mold growth in the areas surrounding the vent, creating health concerns and damaging the structure of your home.
Lint Accumulation in Ductwork
Lint is a byproduct of drying clothes that inevitably travels into the vent system with the moist air. Over time, this lint clings to the interior walls of the ductwork, narrowing the passageway and reducing the volume of air that can escape. If not cleaned periodically, this accumulation becomes a solid plug that completely stops airflow, creating a dangerous trap for heat and debris.
Disconnected or Leaking Joints
The joints between sections of the dryer vent pipe can sometimes loosen or become disconnected due to vibrations or accidental impacts. When these connections leak, hot air and lint escape into wall cavities or behind the appliance instead of being vented outside. This not only reduces efficiency but also spreads dust and humidity throughout the laundry area or home interior.
Crushed or Kinked Vent Hoses
Flexible transition hoses located behind the dryer are prone to being crushed or kinked if the machine is pushed too close to the wall. A kinked hose acts like a blocked artery, severely restricting airflow and preventing the dryer from venting properly. Checking the space behind your dryer ensures that the hose remains unobstructed and maintains its intended diameter.
Obstructed External Vent Hoods
The exterior vent hood is the final point of exit for your dryer’s exhaust and can easily become blocked by external elements. Leaves, bird nests, or even structural debris can accumulate on the hood, preventing the flapper from opening as it should. Keeping this area clear is crucial for allowing the machine to push air out effectively without added resistance.
Damaged or Missing Flappers
The flapper or damper on the exterior vent hood is designed to open when the dryer is running and close when it is off. If this mechanism becomes broken or stuck, it can allow unwanted pests, insects, or cold air to enter the home through the vent. Ensuring the damper moves freely is an easy way to maintain energy efficiency and home security.
Improper Venting Material
Using the wrong material for your dryer vent can lead to significant safety and performance problems over the long term. For instance, using plastic or thin vinyl hoses is discouraged as they are prone to kinking, melting, Dryer Vent Cleaning Los Angeles or trapping lint more easily than smooth metal pipes. Upgrading to rigid or semi-rigid metal ducting is the recommended standard for safety and longevity in modern installations.
Routine Maintenance Steps for Safety
- Routine maintenance is the most effective strategy for preventing dryer vent issues and ensuring long-term safety.
- Begin by disconnecting the power supply to the dryer and moving it far enough away from the wall to access the hose.
- Detach the vent hose from the back of the dryer and use a vacuum or a specialized long-reach brush to remove any visible lint buildup.
- It is also beneficial to check the length of the ductwork for any signs of damage, such as holes or disconnected joints, and repair them immediately using UL-listed foil tape.
- Move to the exterior of your home to inspect the vent hood, clearing away any leaves, dirt, or debris that might be interfering with the flap.
- By setting a schedule to perform these simple checks every six months, you can significantly reduce the risk of fire and keep your dryer operating at its best.
| Issue Type | Common Symptom | Recommended Solution | Frequency |
| Lint Buildup | Long drying times | Vacuum out the ductwork | Every 6 Months |
| Crushed Hose | Machine overheating | Straighten or replace hose | As Needed |
| Disconnected Pipe | Moist walls behind dryer | Reconnect and seal with foil tape | Immediate |
| Clogged Exterior Hood | No air exit detected | Clear debris from outside flap | Every 3 Months |
| Damaged Flapper | Pests or drafts | Replace the exterior vent cover | As Needed |
| Improper Material | High fire risk | Install metal rigid venting | Once |
| Motor Strain | Loud or struggling sounds | Clean ducts and check blower | Yearly |
Professional vs. DIY Repair
Deciding whether to tackle a dryer vent repair yourself or hire a professional depends on the complexity of the issue and your comfort level. For simple tasks like cleaning a short, accessible vent or replacing a standard flexible hose, DIY is a cost-effective and straightforward option. However, if your ductwork runs through walls, under flooring, or into tight attic spaces, it may be time to call in a professional with specialized equipment.
Experienced technicians use industrial vacuums, high-pressure air tools, and inspection cameras to reach blockages that are otherwise impossible to clear. They can also identify complex installation errors that might be invisible to an amateur, ensuring the entire system meets safety standards.
Regular Inspection Protocols
Establishing a habit of inspecting your dryer vent system annually is the best defense against long-term damage. Look for any visible wear on the vent hoses and test the exterior flap to ensure it opens and closes without resistance. This simple proactive step saves time and money.
Vacuuming the Exhaust Path
Use a powerful vacuum to remove the loose lint that accumulates inside the dryer exhaust port and the first few feet of the vent pipe. This is where the majority of lint tends to settle after every cycle. Regular vacuuming prevents this buildup from becoming a dense, hard-to-remove plug.
Checking for Air Leaks
To find air leaks, run the dryer for a few minutes and carefully feel along the connections of the vent pipe for any escaping air. If you feel warm, moist air leaking into the room, use metallic foil tape to seal the joint securely. Never use regular plastic duct tape.
Clearing Exterior Debris
Periodically walk outside to inspect the exterior dryer vent hood, especially during autumn when leaves are falling. Use a broom or your hands to clear away any material that might be obstructing the path, ensuring the flap can open fully when the dryer is active.
Monitoring Drying Performance
Pay close attention to how long your clothes take to dry; if you notice a sudden increase, the vent is likely the culprit. If a single load takes two cycles instead of one, this is a clear sign that airflow is restricted and requires immediate cleaning or repair.
Testing the Vent Flapper
Ensure your exterior vent flapper is functioning correctly by manually pushing it open and observing how it returns to a closed position. If it sticks or remains open, it is allowing unwanted air and debris to enter the home, which negatively affects your heating and cooling efficiency.
Safety Precautions During Maintenance
- Safety should always be the priority when performing any maintenance on your dryer vent system.
- Before starting any work, ensure the dryer is turned off, and unplug it from the electrical outlet to avoid any accidental activation.
- If your dryer is gas-powered, be extra cautious not to disturb or damage the gas line when moving the appliance; if you are uncomfortable, contact a professional.
- Always wear safety glasses and a dust mask, as dislodging lint can release a large amount of dust and debris into the air.
- If you are working in tight or elevated spaces, ensure you have a stable ladder and adequate lighting to see what you are doing.
- Following these simple safety guidelines protects both you and your equipment, making the maintenance process secure and effective.
Conclusion
Taking care of your dryer vent is a small investment of time that pays off in major ways, from increasing the efficiency of your appliance to ensuring the safety of your home. By understanding the common problems such as lint buildup, crushed hoses, and external obstructions, you are well-equipped to keep your system in optimal working order. Remember that your dryer’s performance is directly linked to the health of its venting system; a clear path for air means faster drying times, lower energy bills, and a longer lifespan for your machine.
Whether you choose to perform routine maintenance yourself or call for professional help, consistency is key to preventing the hazards associated with neglected vents. Embrace these maintenance practices as part of your regular home care routine, and you will enjoy the peace of mind that comes with a safe, efficient, and well-functioning laundry room.
Frequently Asked Questions
1. How often should I clean my dryer vent?
You should aim to have your dryer vent cleaned at least once every six to twelve months, depending on how often you use your dryer. Families with multiple loads of laundry per week may need to check the vent more frequently to prevent excessive lint buildup.
2. Can I use a regular vacuum to clean the vent?
A household vacuum is excellent for cleaning the area directly behind the dryer and the easily accessible parts of the vent hose. However, for deep cleaning the entire length of the ductwork, a specialized long-reach brush and high-powered vacuum tools are much more effective.
3. What happens if I don’t clean my dryer vent?
Neglecting the vent leads to significant lint accumulation, which restricts airflow and forces the dryer to work harder, increasing energy consumption. This creates a high risk of overheating and, in severe cases, can lead to dangerous house fires caused by ignited lint.
4. How do I know if my dryer vent is clogged?
Signs of a clog include clothes that are still damp after a full cycle, the dryer exterior feeling excessively hot, and a burning smell in the laundry room. You might also notice that the exterior vent hood does not open or release air while the dryer is running.
5. Is it better to use flexible or rigid vent pipe?
Rigid or semi-rigid metal ducting is highly recommended because it is durable, smooth on the inside, and less likely to accumulate lint compared to flexible plastic or vinyl hoses. Plastic hoses are a known fire hazard and should be replaced with metal whenever possible.
6. Can I use duct tape to seal my dryer vent?
No, you should never use standard plastic duct tape because it is not heat-resistant and can fail over time. Always use UL-listed metallic foil tape specifically designed for heating and ventilation applications to ensure a secure, long-lasting, and heat-resistant seal.
7. Why does my dryer take two cycles to dry clothes?
If your dryer suddenly requires multiple cycles, it is likely because the hot, moist air is not escaping through the vent as it should. This is a primary indicator of a significant obstruction in the venting system that needs to be cleared to restore normal efficiency.
8. Is a professional dryer vent cleaning worth the money?
Yes, a professional cleaning is well worth the investment if you have long, complex ductwork or suspect a deep-seated blockage. Professionals use specialized cameras and high-pressure tools that ensure the entire vent path is completely clear, which DIY methods might miss.
9. Can lint cause a fire outside the dryer?
Yes, lint is highly flammable and acts as fuel if it collects in a hot vent pipe, especially near a heating element or motor. If the vent is blocked, that heat cannot escape, which can cause the collected lint to reach its ignition temperature and start a fire.
10. What should I do if my dryer vent is damaged?
If you find damage like a hole, a kink, or a disconnected joint, you should repair or replace the affected section immediately. Using proper metal components and secure foil tape will fix the issue and prevent future performance or safety problems from occurring in your venting system.